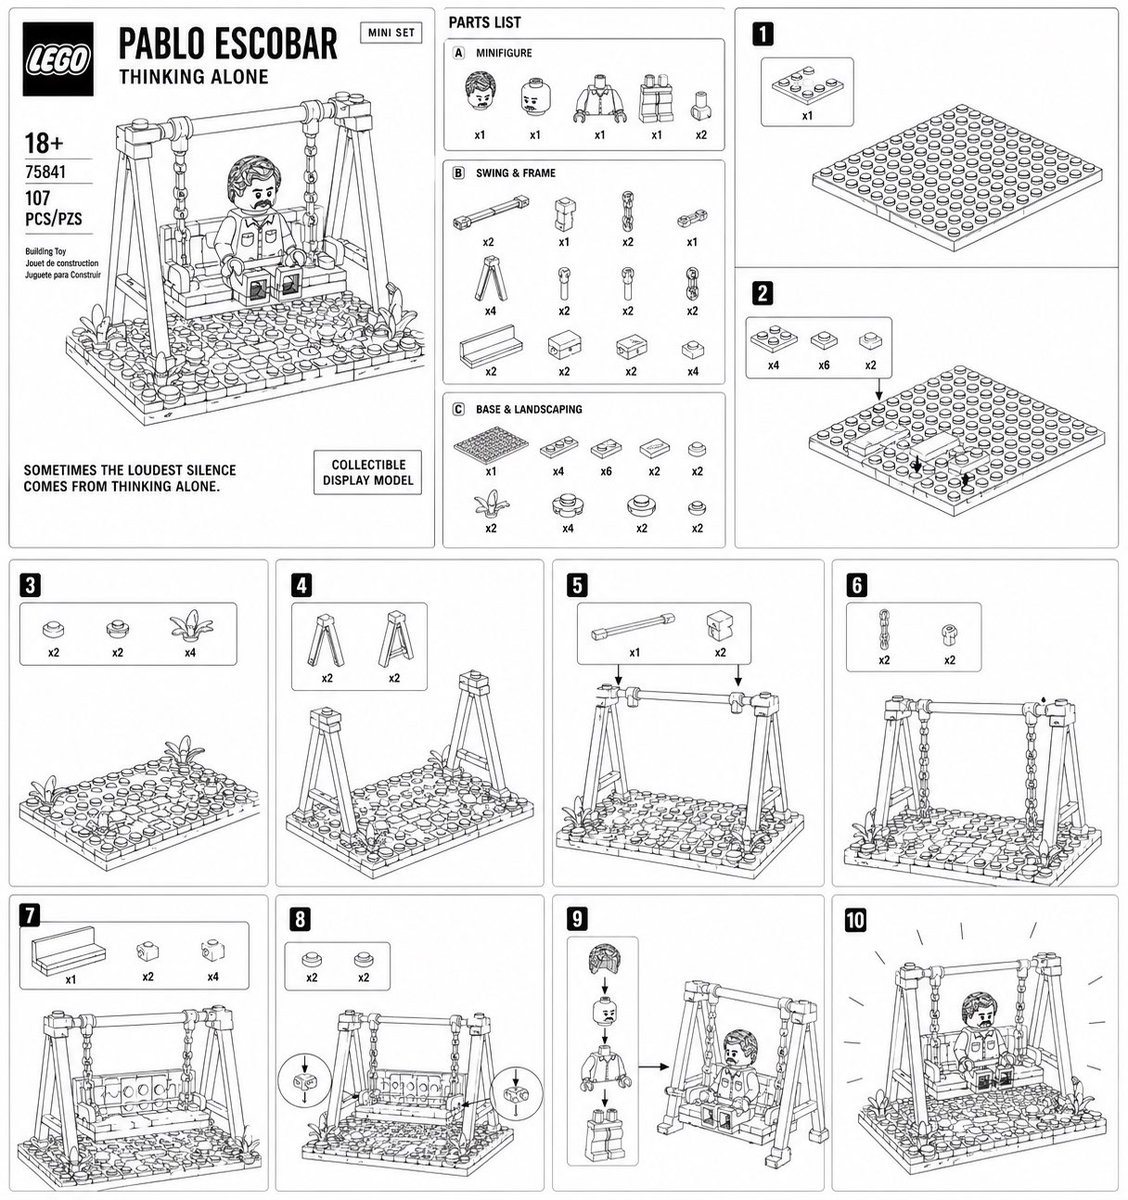
Prompt{"type":"LEGO-style instruction poster and toy box mockup","subject":{"theme":"solitary adult sitting on a playground swing","product_name":"{argument name=\"set name\" default=\"PABLO ESCOBAR\"}","subtitle":"{argument name=\"subtitle text\" default=\"THINKING ALONE\"}","age_mark":"18+","set_number":"{argument name=\"set number\" default=\"75841\"}","piece_count":"107","scale_note":"MINI SET","tagline":"{argument name=\"tagline\" default=\"SOMETIMES THE LOUDEST SILENCE COMES FROM THINKING ALONE.\"}","badge":"COLLECTIBLE DISPLAY MODEL","style":"clean black-and-white LEGO catalog line art, technical instruction sheet, box-art layout, thin outlines, light gray panel borders, white background"},"character":{"figure_type":"minifigure of an adult man","hair":"short wavy textured hairpiece","expression":"neutral pensive face","outfit":"simple torso print suggesting casual jacket or shirt, standard minifigure legs","pose":"seated alone on a swing, facing forward"},"layout":{"format":"portrait poster divided into multiple rectangular panels","sections":[{"title":"box front","position":"top left large panel","count":1,"labels":["LEGO logo","18+","75841","107 PCS/PZS","Building Toy","Jouet de construction","Juguete para Construir","MINI SET","COLLECTIBLE DISPLAY MODEL"]},{"title":"PARTS LIST","position":"top center panel","count":3,"labels":["A MINIFIGURE","B SWING & FRAME","C BASE & LANDSCAPING"]},{"title":"assembly steps","position":"right side and bottom grid","count":10,"labels":["1","2","3","4","5","6","7","8","9","10"]}],"step_count":10,"parts_groups":3},"parts_list":{"A MINIFIGURE":{"count":5,"items":["hairpiece x1","head x1","torso with arms x1","legs assembly x1","small accessory piece x2"]},"B SWING & FRAME":{"count":10,"items":["horizontal bar x2","connector brick x1","chain links assembly x2","small pin/bar piece x1","A-frame leg assemblies x4","vertical connector peg x2","swing seat support pieces x2","bench plank element x2","small block x2","small cap pieces x4"]},"C BASE & LANDSCAPING":{"count":9,"items":["large square baseplate x1","rectangular tile x4","small sloped tile x0","small flat tile x2","round stud x2","plant sprig x2","flower cluster x4","round layered tile x2","small round cap x2"]}},"assembly":{"steps":[{"step":1,"summary":"place 1 large square baseplate as the foundation","part_count":1},{"step":2,"summary":"add 12 small foundation pieces around one side and center of the base","part_count":12},{"step":3,"summary":"add 8 landscaping details: 2 round studs, 2 round caps, and 4 plant pieces","part_count":8},{"step":4,"summary":"build and place 4 angled swing-frame supports in two A-frames","part_count":4},{"step":5,"summary":"connect the top with 3 beam and connector pieces","part_count":3},{"step":6,"summary":"hang 4 suspension parts from the top beam: 2 chain elements and 2 connectors","part_count":4},{"step":7,"summary":"attach the swing seat using 7 pieces including 1 bench plank, 2 support blocks, and 4 caps","part_count":7},{"step":8,"summary":"add 4 finishing round details to both sides of the seat","part_count":4},{"step":9,"summary":"assemble the minifigure from 4 stacked components and place him seated on the swing","part_count":4},{"step":10,"summary":"show the completed display model with emphasis lines around the finished scene","part_count":1}]},"composition":"top-left hero panel shows the finished model in three-quarter view with the seated figure on a swing over a textured ground base with small plants in the corners; top-center parts inventory uses tiny isolated drawings with quantity labels; the remaining panels present isometric building instructions in classic LEGO manual style","rendering":"monochrome printed instruction manual aesthetic, crisp vector-like outlines, no shading except subtle light gray fills, all text uppercase sans serif, neat toy-packaging proportions"}